When a PDF file has editing restriction enabled, you may be able to open and read the file, but editing, printing, copying, or commenting may be limited. This guide shows how to use MyPassRecovery Desktop to remove PDF editing restriction by importing the protected PDF, analyzing the permission restriction, saving the unrestricted output file, and confirming that the new PDF can be edited, printed, or copied according to the removed permissions.
What Is PDF Editing Restriction?
PDF editing restriction is a permission setting that limits what users can do with a PDF file. A PDF with editing restriction may still open normally, but editing tools, printing, copying, page extraction, or annotation may be disabled.
MyPassRecovery Desktop can handle PDF files protected by permission passwords or editing restriction. When the software recognizes this protection type, it can remove the editing restriction and generate a new PDF output file without the previous permission limits.
When to Use This Guide
Use this guide when a PDF opens successfully but cannot be edited, printed, copied, or modified because of editing restriction.
- The PDF opens, but editing is blocked.
- The PDF has printing, copying, or commenting limitations.
- The permission password for removing PDF editing restriction is not available.
- You need a new PDF file without editing restriction.
When This Guide Does Not Apply
If the PDF asks for a password before opening, it is a PDF open password recovery case, not an editing restriction removal case. If the PDF is damaged, incomplete, or locked by operating system permissions, that problem is not PDF editing restriction.
Before You Start
Before removing editing restriction, prepare MyPassRecovery Desktop and the protected PDF file. Close the PDF in other viewers before importing it into the software.
- Install and sign in to MyPassRecovery Desktop.
- Prepare a PDF file with editing restriction or permission restriction.
- Place the PDF in a local folder, such as D:\MyPassRecovery\PDF Editing Restriction\.
- Close Adobe Acrobat, WPS PDF, or any other viewer that is using the file.
Operation Steps
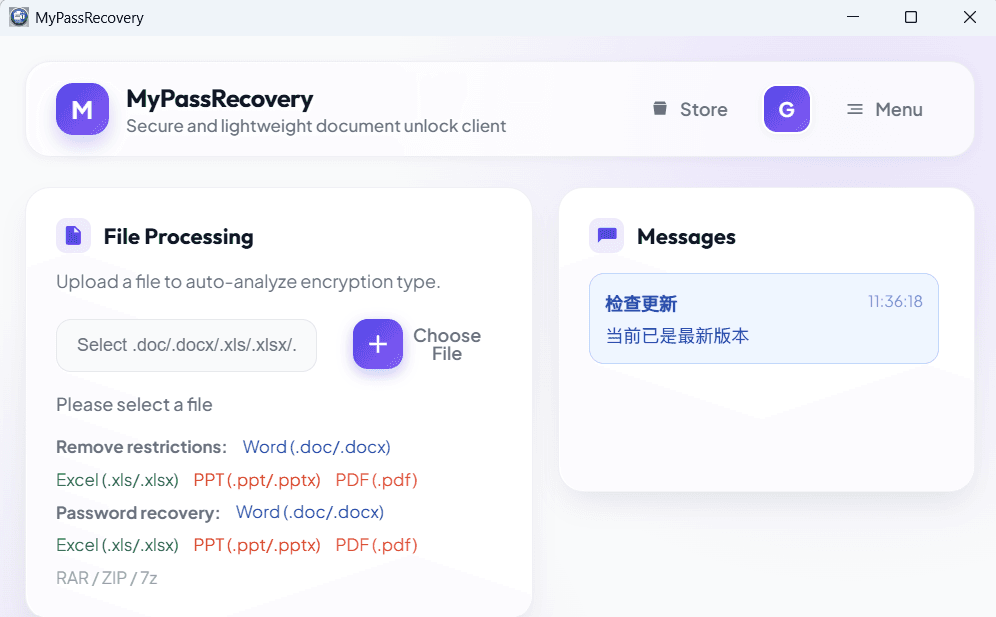
Step 1: Open MyPassRecovery Desktop
Open MyPassRecovery Desktop and make sure your account is signed in. The client should be online and ready to analyze the PDF before you remove editing restriction.
Step 2: Import the PDF File with Editing Restriction
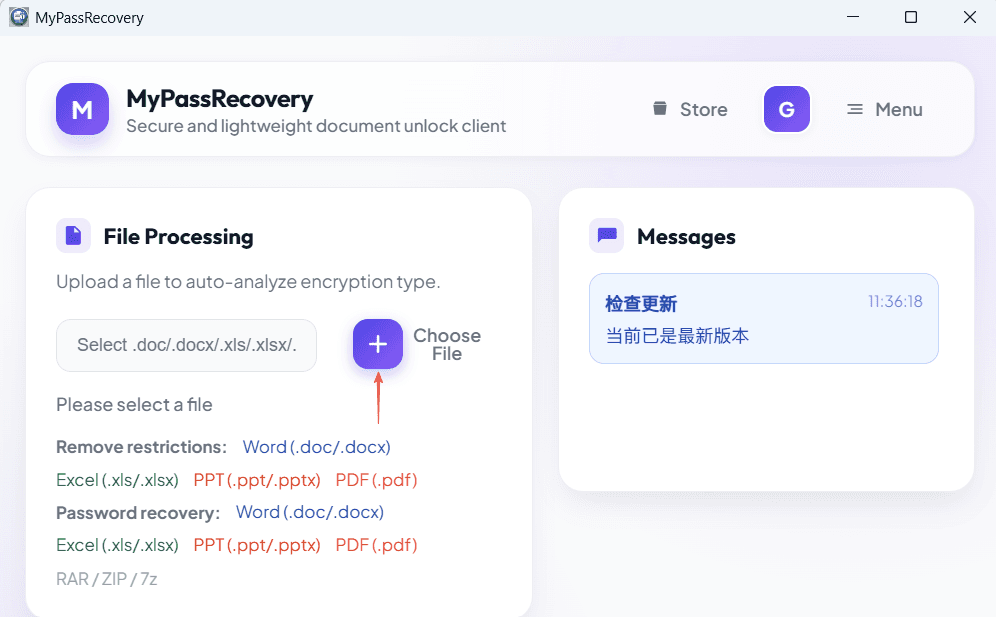
In the Document Processing area, click the file selection button and choose the PDF file that has editing restriction. After import, MyPassRecovery Desktop reads the path and identifies the file type and permission protection method.
Step 3: Wait for Editing Restriction Analysis
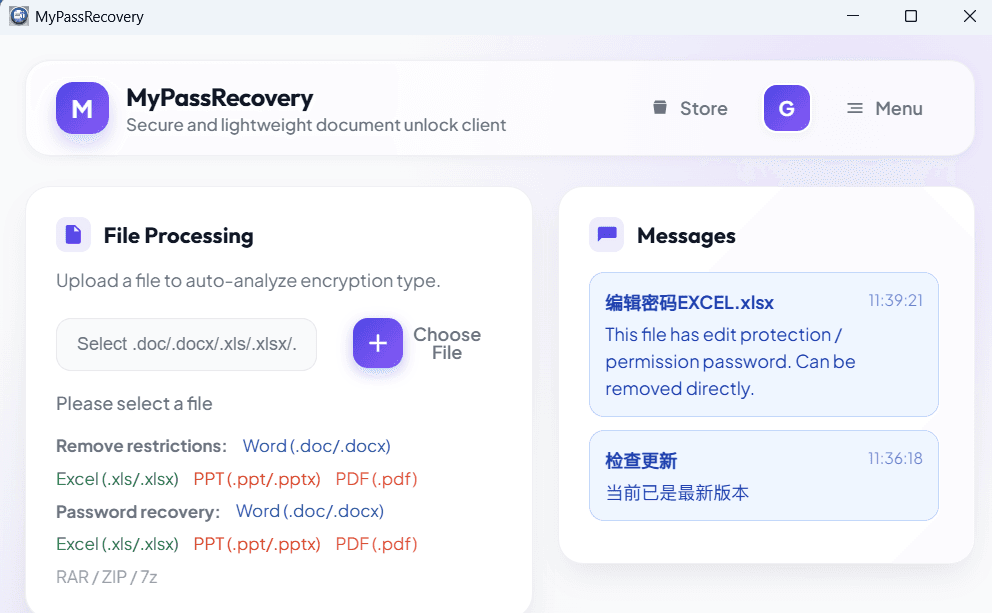
After the file is imported, MyPassRecovery Desktop checks whether the PDF contains editing restriction, a permission password, an open password, or another protection type. For a PDF that only has editing restriction, the client should indicate that the protection can be removed directly.
Step 4: Remove the Editing Restriction
After the software identifies PDF editing restriction, click Save or the available removal button. MyPassRecovery Desktop generates a new PDF output file without the previous editing restriction.
Step 5: Open the Output PDF
Open the new output PDF and confirm the result. Depending on the original permission settings, the output PDF should allow editing, printing, copying, or other actions that were previously blocked by editing restriction.
Result
After the process is complete, the original PDF remains unchanged, and MyPassRecovery Desktop creates a new PDF file with the editing restriction removed. Use the output PDF when you need to continue editing, printing, or copying content.